
For .Net development using NumXL SDK, you'll need one wrapper DLL for each platform.
- NumXLAPI.dll.
The NumXL SDK files for C/C++ development and examples can be found on the download page. For the latest development and examples, you can pull the SDK project on GitHub.
1. Compiler Dependency
There is no direct dependency between the wrapper DLL (NumXLAPi.dll) and your development tool. Nevertheless, the wrapper DLL requires a .Net framework version 3.5 or later installed for proper operation.
The .Net SDK package comes in with pre-built securely signed wrapper DLL for 32-bit and 64-bit platforms.
2. (Optional) Build From Sources
Although, the included pre-built wrapper DLL (NumXLAPi.dll) is readily usable in a wide range of development tools, we have made the source code available for the rare occasion where you may wish to build or digitally-sign your own libraries.
The .Net SDK package and the project repository on GitHub includes the source code and the project files. The project is self-contained, and requires no external dependencies. To create create the wrapper DLL, open the solution file (NumXLAPI.sln) in Microsoft Visual Studio and run a batch build for Windows x32 and x64 platforms.
Note: If you are using a different development tool than Microsoft Visual Studio, you can use the information here, but map the steps to match the UI of your development tool.
3. Directory Structure
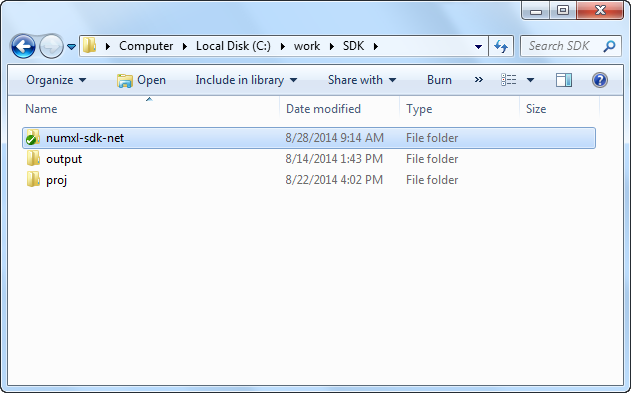 To setup your development folders, we recommend the following structure. Where:
- numxl-sdk-net folder contains all source files for the .NET SDK Wrapper (i.e. NumXLAPI.dll)
- output folder contains the executable binaries in NumXL and the SDK
- proj folder is where you maintain the source code for your custom application
4. Hello World! Application
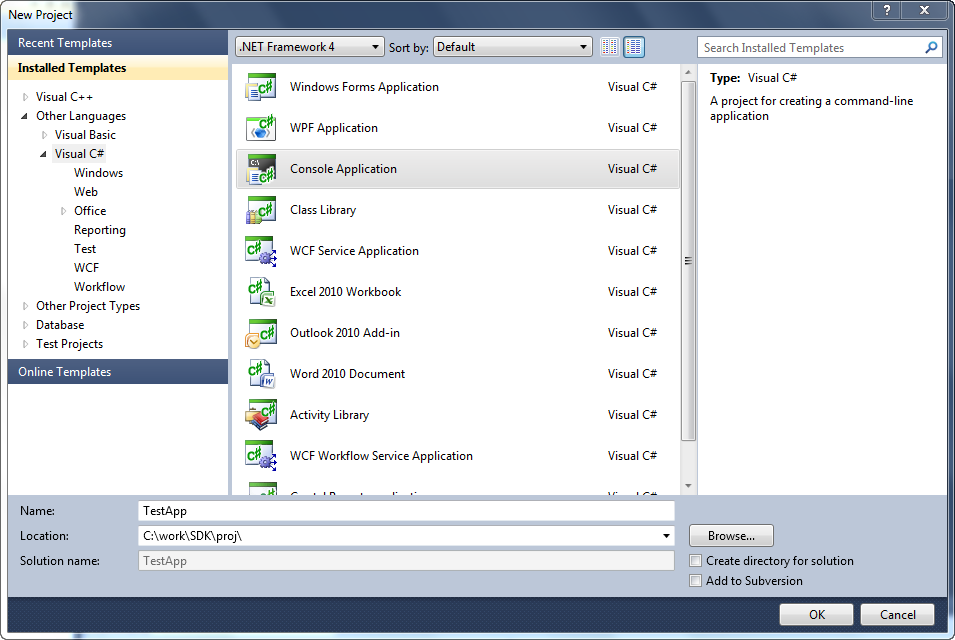 Using Visual Studio menu, select "File" → New → Project.
- Project template: "Other Languages" → Visual C# Win32 → Console Application
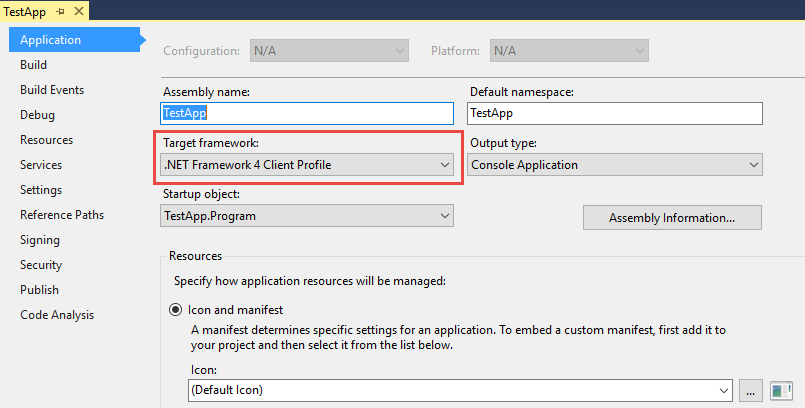
- Name: TestApp
- Location: (using the directory structure above)
- Create Directory for Solution: Uncheck
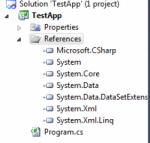
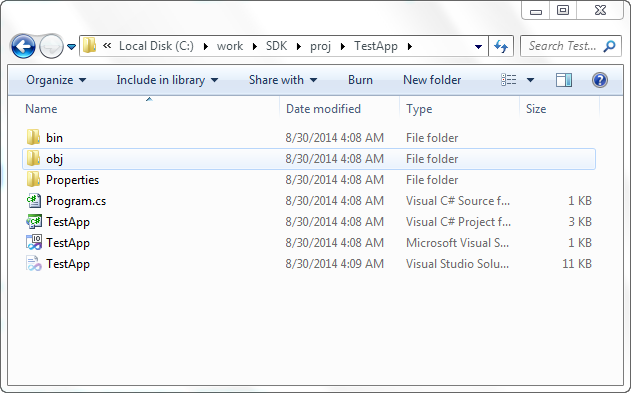 Click "OK" when done. Microsoft Visual Studio will create the new C# console project - TestApp - and all its files.
Note: In this tutorial, we have chose Visual C# project, but you may choose Visual Basic or any supported .Net language for your custom application.
Using the menu, select "project" → " project properties "
- Project configurations
 Under "Application" tab (default), make sure the selected target .net framework is 4.0 or higher.
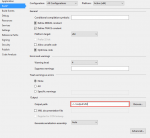 Next, Select "Build" tab:
- Select Configuration to All, and Platform to "x86 or x64"
- Set the "Output Path" to your installation directory.
- Save
- Save the project changes

- Project References
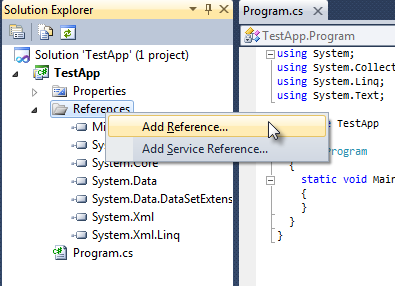
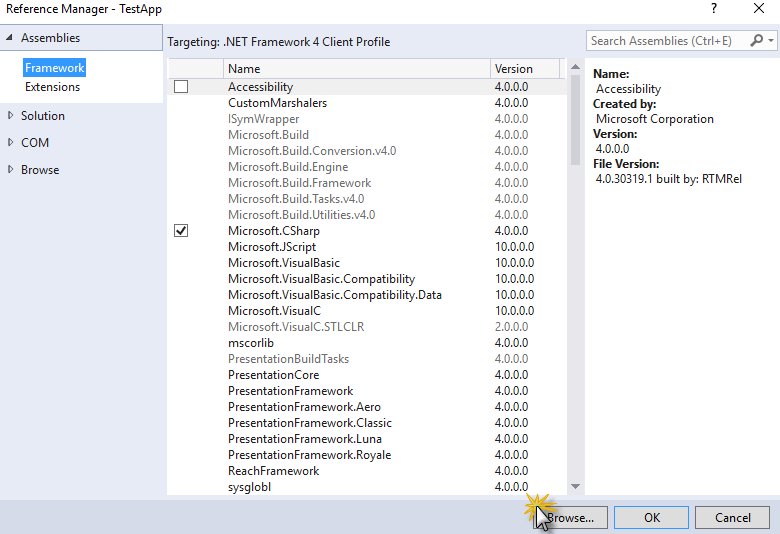
 Next, using the solution explorer view (the sidebar), select the references tab to expand.
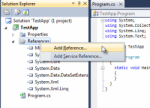 Using the mouse right-click on Add Reference
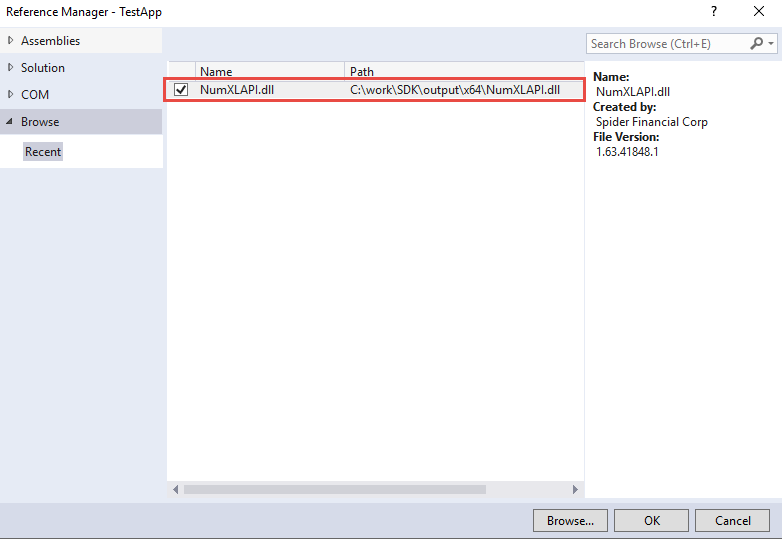
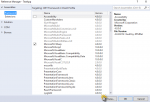 In the Add Reference dialog, click on the Browse button, and navigate to the platform output folder and select "NumXLAPI.dll"
 Once selected, the NumXLAPI.dll is listed in the reference manager.
- Click "OK" to close the reference manager dialog.
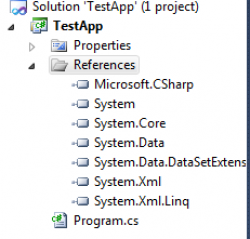
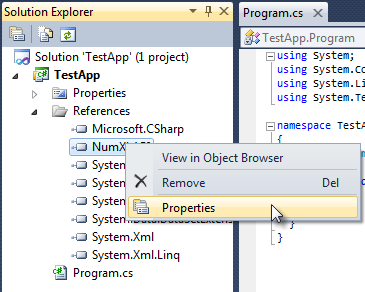
- A new entry for NumXLAPI.dll is added under references in the solution explorer.
 Select the NumXLAPI entry under references, right-click and then select "properties"
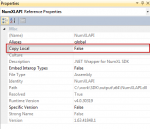 IMPORTANT: In the NumXLAPI properties sheet, set the "Copy Local" to false.
- Save the project settings
- (Optional) Using the Configuration Manager, create a configuration for x86 and/or x64 platforms

- Source Code
- Open the main source code file (e.g. program.cs)
- In the references section, add the following statement:
#region Using Directives using System; using System.Collections.Generic; using System.Linq; using System.Text; using NumXLAPI; #endregion namespace TestApp { class Program { /// <summary> /// The main console application - Now, we need to initialize the SDK by calling the NDK_Init function
static void Main(string[] args) { NDK_RETCODE nRet = NDK_RETCODE.NDK_FAILED; string szAppName; String szMsg; szAppName = "TestApp"; nRet = SFSDK.Init( szAppName, // We have TestApp.conf file null, // Use the license key in License.lic null, // Use the activation code in License.lic null // Use the temp directory specified in current user's profile ); if (nRet < NDK_RETCODE.NDK_SUCCESS) { szMsg = "NDK Initialization Failed"; SFLOG.LogMsg(SFLOG_LEVEL.SFLOG_INFO, new System.Diagnostics.StackTrace(true).GetFrame(0).GetFileName(), new System.Diagnostics.StackFrame(1, true).GetMethod().Name, "", new System.Diagnostics.StackTrace(true).GetFrame(0).GetFileLineNumber(), szMsg); - Upon successful initialization, you may invoke any function in the SDK.
- Finally, you will need to shutdown the SDK to close any open file and release resources.
nRet = SFSDK.Shutdown(); if (nRet < NDK_RETCODE.NDK_SUCCESS) { szMsg = "NDK Shutdown failed"; SFLOG.LogMsg(SFLOG_LEVEL.SFLOG_INFO, new System.Diagnostics.StackTrace(true).GetFrame(0).GetFileName(), new System.Diagnostics.StackFrame(1, true).GetMethod().Name, "", new System.Diagnostics.StackTrace(true).GetFrame(0).GetFileLineNumber(), szMsg); } - Done! Now, you may use next any NumXL SDK function as needed.
- Common Questions & Issues:
- Which Platform should I use?
[Answer] In general, the Windows and the NumXL SDK platform (i.e. 32 or 64-bit) determines the supported platform of your application:- On a 32-bit windows machine, you can only use the 32-bit NumXL SDK. In this case, use x86 (or any CPU) platform.
- On a 64-bit windows machine and 32-bit NumXL SDK, you need to use the x86 platform.
- On a 64-bit windows machine and 64-bit NumXL SDK, you can use either x64 (or any CPU) platform.
- Error: NumXLAPI.dll' must be strong signed in order to be marked as a prerequisite.
[Answer] This is something to do with the assembly cache requiring all assemblies to be strongly signed. This can be fixed by clicking on "Application Files" in the publish tab, selecting "NUMXLAPI" and making sure the publish status is set to "include" rather than "prerequisite" - Error: An attempt was made to load a program with an incorrect format.
[Answer] This is a 32/64 bit issue so set compiler options to all configurations/all platforms/any CPU.
- Which Platform should I use?
